Drying a Pomeranian Without Damaging the Coat
It's a familiar scenario for many Pomeranian parents: you've just given your fluffy companion a bath, and now you're faced with a soaking wet furball that needs to dry. The temptation to grab your own hairdryer or vigorously rub them with a towel is strong, but doing so can inadvertently damage that magnificent double coat you work so hard to maintain. This guide will walk you through the gentle, effective methods to dry your Pomeranian's coat safely, ensuring it remains healthy, fluffy, and free from damage.
The Delicate Nature of the Pomeranian Double Coat
Your Pomeranian's coat isn't just pretty; it's a marvel of canine engineering, designed to keep them insulated in cold climates. But this dense, multi-layered structure is also surprisingly delicate and prone to damage if not handled with care, especially during the drying process. Understanding what makes their coat special is the first step in protecting it.
Understanding Guard Hairs vs. Undercoat
The magic of a Pomeranian's coat lies in its duality: a soft, dense undercoat and long, straight, coarser guard hairs that stand out from the body. The undercoat acts as insulation, trapping air to keep them warm or cool, while the guard hairs protect against moisture and dirt. This combination is what gives a Pomeranian their distinctive "fluffed" appearance. However, these distinct layers are also what make improper drying so problematic. When you rub too hard with a towel, you can create tangles in the undercoat and even break the guard hairs, leading to a dull, frizzy appearance. Similarly, blasting them with high heat can cook these delicate hairs, causing permanent damage. It's like trying to untangle wet human hair after showering – you wouldn't just rip a brush through it, right? It needs gentle handling. The Double Coat That Makes a Pomeranian and Why It Stays On goes into even more detail about this unique coat structure.
Why Heat and Roughness Are the Enemy
Think about what extreme heat does to your own hair: it can make it brittle, dry, and prone to breakage. The same, if not worse, applies to your Pomeranian's coat. High temperatures from a human hairdryer can strip the natural oils from their fur, making it dry and dull. Worse still, it can actually "fry" the guard hairs, permanently altering their texture and making them more susceptible to breakage. This can leave the coat looking limp, frizzy, and without its characteristic stand-off appearance. Beyond the hair itself, there's the risk of burning your dog's sensitive skin, which can lead to painful hot spots or even more severe thermal injuries. Rough towel drying, while seemingly harmless, can also create significant friction. This friction can lead to mats and tangles, especially in the dense undercoat, which then become incredibly difficult to remove without causing further damage or pain. It's a double-edged sword: you need to remove the moisture, but you have to do it without causing further problems.
Essential Tools for Gentle Pomeranian Drying
Having the right equipment is non-negotiable when it comes to drying your Pomeranian's coat without causing damage. Forget your personal hair dryer and that old bath towel; we need specific tools designed for canine coats. Investing in these items will save you countless headaches and vet visits in the long run.
The Right Towels and Blotting Techniques
Before you even think about a dryer, good quality towels are your first line of defense against excessive moisture. Regular cotton towels can absorb some water, but they often require a lot of rubbing, which can tangle the coat. Instead, opt for highly absorbent microfiber towels. These towels are designed to wick away significantly more water with less effort. When using them, the key is to blot and squeeze, not rub. Gently press the towel against your Pomeranian's coat, absorbing water in sections. Work from head to tail, gently squeezing any excess water from their legs and tail plume. Imagine you're trying to absorb a spill rather than scour a pot. This gentle action helps to prevent the formation of mats and reduces the risk of breaking delicate hairs. You'll be amazed at how much water these towels can remove, significantly cutting down on drying time and minimizing the need for heat later on.
Selecting the Best Pet Dryer
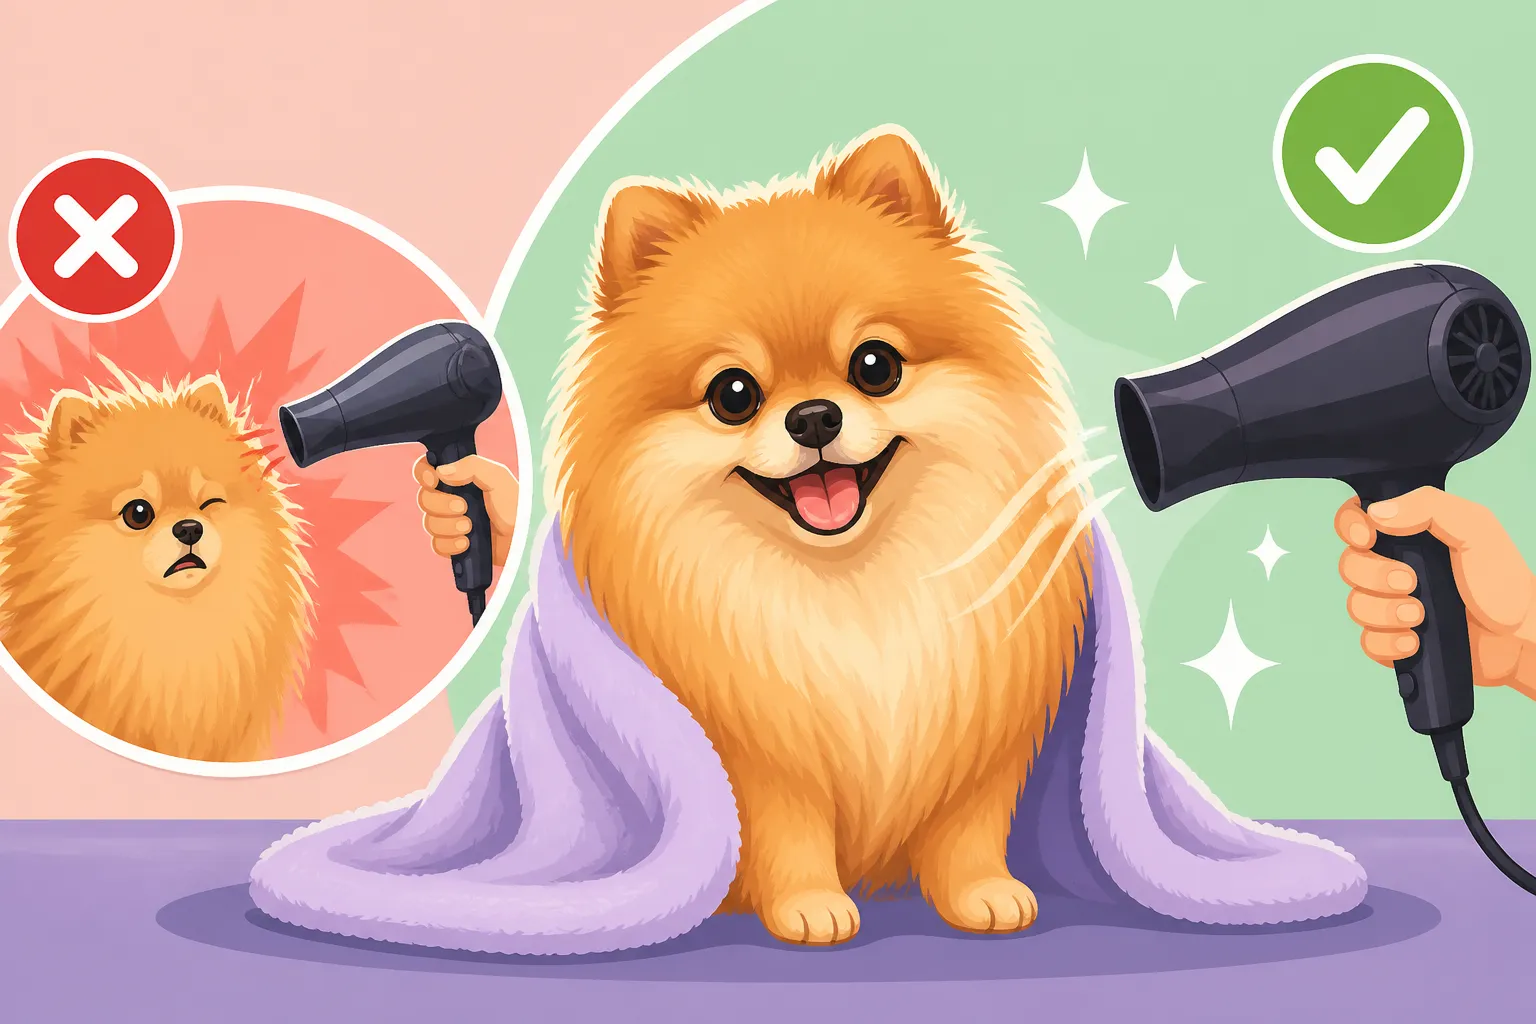
This is where many well-intentioned owners make a critical mistake. A human hairdryer, even on a low setting, often produces air that is too hot and too concentrated for a dog's coat and skin. What you need is a pet-specific force dryer, often called a high-velocity dryer. These dryers are designed to move a large volume of air at a lower temperature, effectively "blasting" water out of the coat rather than evaporating it with heat. Look for models with variable speed and temperature settings, allowing you to control the force and heat to suit your dog's comfort level and coat type. While these can be an investment, they are invaluable. You can find a good selection of these on sites like Amazon, with many options catering to different budgets and features. A good force dryer helps to separate the double coat, allowing air to reach the skin and dry thoroughly, preventing mildew or skin issues that can arise from dampness.
| Feature | Human Hair Dryer | Pet Force Dryer |
|---|---|---|
| Air Temperature | Often too hot, even on low | Cooler air, high volume, variable temp |
| Air Speed | Lower, more concentrated | High velocity, "blasts" water out |
| Noise Level | Can be high-pitched and startling | Can be loud, but less high-pitched |
| Motor | Not designed for continuous use | Heavy-duty, built for longer sessions |
| Risk of Damage | High (burns, coat frying, mats) | Low (if used correctly) |
| Drying Method | Evaporates water | Forces water off the coat |
Brushes and Combs for the Drying Process
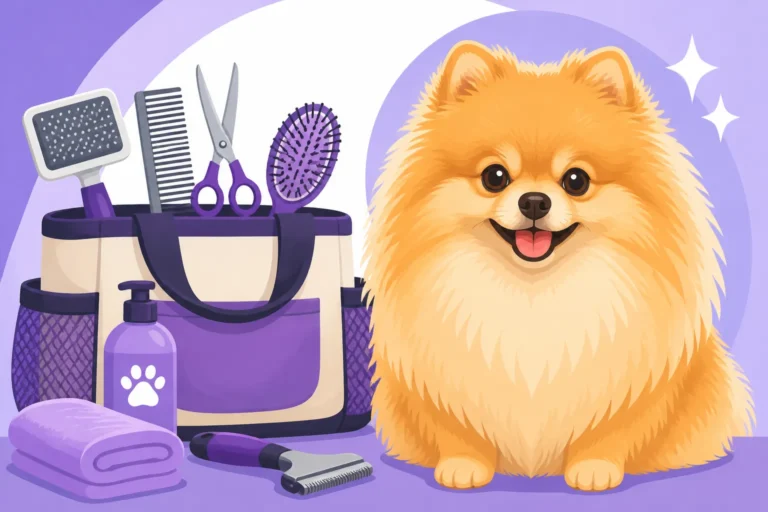
Drying isn't just about blowing air; it's an active grooming process that involves brushing. As you dry, you'll want to use specific brushes to help separate the coat and ensure thorough, even drying. A good quality slicker brush with flexible pins is indispensable. This helps to lift the undercoat and allow air to circulate, preventing mats from forming as the hair dries. For areas like the ruff or britches, a pin brush can also be helpful, especially after the initial dampness has been removed, to fluff the coat without pulling too much. The key is to work in sections, brushing small amounts of hair from the skin outwards. The Slicker and Pin Brush a Pomeranian Needs explains these tools further. Brands like Chris Christensen offer high-quality brushes that many professional groomers swear by, and you can often find a wide array of options on platforms like Chewy or Amazon. Remember, the goal isn't to rip through tangles, but to gently guide the air and separate the hairs.
Step-by-Step Guide to Damage-Free Pomeranian Drying
Now that you have your tools ready, let's get into the actual process. Drying a Pomeranian properly is less about speed and more about technique and patience. Rushing through it is a recipe for disaster, leading to damaged coats or even health issues.
Pre-Drying Preparation: The Crucial First Steps
Before you even turn on the dryer, a thorough pre-drying routine is essential. After their bath, gently squeeze as much excess water from their coat as possible, focusing on areas like the legs and tail. Then, wrap your Pomeranian in a microfiber towel and gently blot them all over. You can even try gently pressing the towel around their body, almost like you're burping a baby, to soak up more moisture. Repeat this with a second dry towel if necessary. The goal is to get them as "towel-dry" as possible before introducing any forced air. Next, with your Pomeranian still damp, take a moment to gently detangle any existing snags or small mats using a wide-toothed comb or a slicker brush. It's much easier to work out tangles when the hair is damp (but not dripping wet) and lubricated with a good detangling spray. Trying to brush out dry mats under a force dryer will cause pain and significant coat breakage. Creating a calm environment is also important; perhaps put on some soothing music or white noise to help mask the sound of the dryer. How Rarely a Pomeranian's Coat Should Be Washed also reminds us that preparation is key to making wash day go smoothly.
The Force Dryer Technique for a Fluffy Finish
Now for the main event! With your Pomeranian thoroughly towel-dried and detangled, it's time for the force dryer. Start on the lowest speed setting and with cool or very low heat – remember, we're trying to move water, not cook the coat. Hold the nozzle a safe distance from your dog's skin, typically 6-12 inches, and keep it moving constantly. Never direct the air into their face, ears, or genital area. Work in sections, starting with the body. Use your free hand to gently lift and separate the coat as you direct the air, effectively "line drying" them. This technique is similar to Working a Pomeranian's Coat in Sections to the Skin when brushing. The force of the air will help to push the water out and lift the undercoat, encouraging that beautiful fluffy stand-off appearance. As the coat starts to dry, you can use your slicker brush to gently brush against the growth of the hair while drying to maximize fluff. Increase the speed setting gradually as your dog gets comfortable, but always keep the temperature low. Patience is truly a virtue here; this can take a while, especially for a Pomeranian with a full, dense coat.
Finishing Touches: Ensuring Complete Dryness and Shine
Once your Pomeranian feels dry to the touch, don't stop just yet! The undercoat can trap moisture, especially in dense areas like the ruff, britches, and tail. Use your fingers to really dig down to the skin and feel for any damp spots. A slightly damp undercoat can quickly lead to mats, skin irritation, or even a musty smell. Continue using the force dryer on a cool setting, moving in short bursts and focusing on those thicker areas, until every layer of the coat, right down to the skin, is completely dry. Once thoroughly dry, give them a final, thorough brush-out with a pin brush to smooth any stray hairs and enhance their natural fluff. You can also spritz a very light conditioning or finishing spray to add shine and help reduce static. Remember, a completely dry coat is a healthy coat, and it’s the best way to prevent uncomfortable skin issues and maintain that iconic Pomeranian look. Whether a Pomeranian Needs Its Coat Fluffed gives more tips on achieving that perfect look.
Common Pitfalls and How to Avoid Them
Even with the right tools and techniques, it's easy to fall into common traps when drying your Pomeranian. Being aware of these mistakes can help you avoid damaging their precious coat and keep them comfortable throughout the process.
Overheating and Its Consequences
One of the biggest dangers when drying a Pomeranian is overheating. Their dense double coat, while beautiful, can also act as an insulator, trapping heat against their body. Using a human hairdryer, even on a seemingly "low" heat setting, or holding a pet dryer too close for too long, can quickly lead to their skin becoming dangerously hot. This isn't just uncomfortable; it can cause burns, painful hot spots, and even thermal damage to their coat that manifests as frizzy, brittle, or discolored fur. The guard hairs can become permanently "fried," losing their straight texture and making the coat appear dull and lifeless. To avoid this, always use the cool or no-heat setting on your pet dryer. Periodically touch your dog's skin with your hand to ensure it's not getting too warm. If you notice them panting excessively, seeming agitated, or pulling away, take a break immediately and allow them to cool down. Their comfort and safety should always be your top priority.
Rushing the Process and Leaving Dampness
It's tempting to rush through the drying process, especially after a long bath, but leaving any dampness in a Pomeranian's dense undercoat is a recipe for disaster. Moisture trapped close to the skin creates a perfect breeding ground for bacteria and fungi, leading to skin infections, hot spots, and unpleasant odors. What starts as a little damp patch can quickly escalate into a painful skin condition requiring veterinary attention. Furthermore, damp fur is much more prone to matting. As your Pomeranian moves, any remaining moisture will cause the hairs to clump and knot together, forming tight mats that are incredibly difficult and painful to remove, sometimes even requiring shaving. Preventing Mats Where a Pomeranian's Harness Sits offers additional matting prevention advice. Always dedicate enough time to fully dry your Pomeranian's coat, from the tips of the guard hairs right down to the skin. If you're unsure, it's better to spend an extra 10-15 minutes with the cool air of the dryer than to risk skin issues and mats.
Aggressive Brushing and Tugging
While brushing is an integral part of the drying process, doing it aggressively or tugging at tangles is highly detrimental to your Pomeranian's coat and their overall grooming experience. The delicate hairs, especially when damp, are more susceptible to breakage. Tugging can pull out healthy hair, damage the hair follicles, and even cause skin irritation or pain, making your Pomeranian dread future grooming sessions. Instead, always use a gentle hand and the appropriate tools like a slicker or pin brush. When you encounter a tangle, don't yank. Instead, isolate the mat, spray it with a detangling solution (you can find excellent options on Chewy or Amazon), and carefully work it out from the ends inwards, using the tips of your slicker brush. The Minutes a Full Pomeranian Brush Out Takes highlights that patience is key for every step of grooming. The goal is to separate the hairs and encourage air circulation, not to force a brush through resistance. By being gentle and patient, you'll ensure your Pomeranian associates drying with a positive, comfortable experience, making future grooming sessions much easier for both of you.
Disclaimer
This article is for general informational purposes only and does not constitute professional advice. Laws, prices and regulations vary by location and change over time. Consult a qualified professional for guidance on your specific situation.